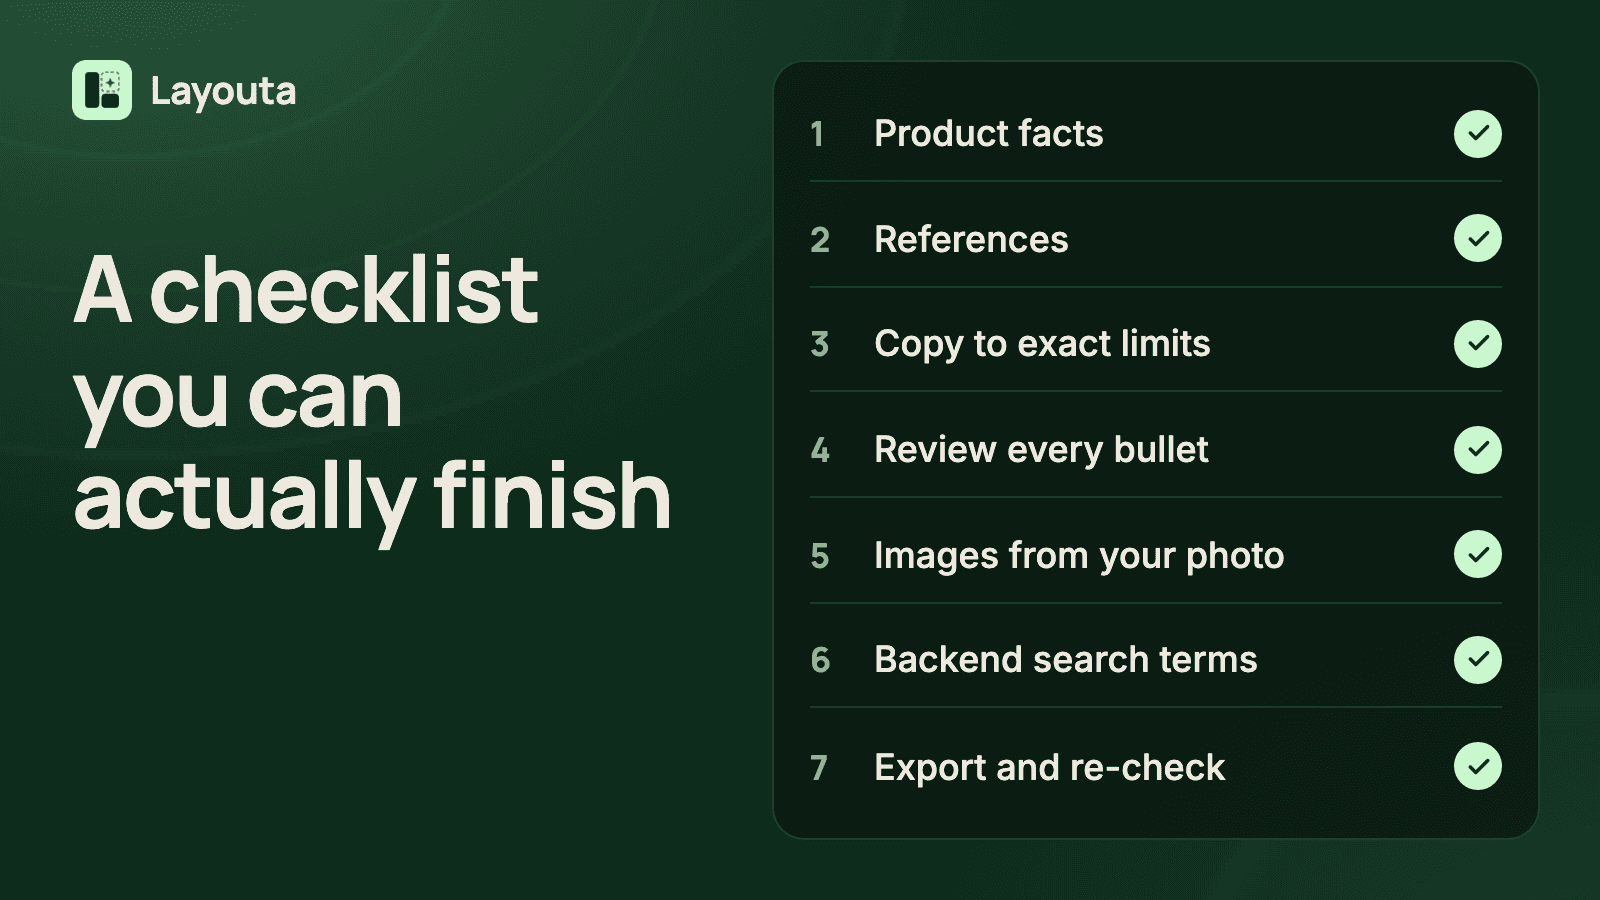
A Product Listing Optimization Checklist Sellers Actually Finish
A practical, in-order checklist for product listing optimization — facts, references, copy, images, and export — built around what you can actually confirm about your product.
Most product listing optimization checklists read like a list of settings to toggle: keyword density, image count, character limits. Useful, but they assume the hard part — knowing what's actually true about your product and what your competitors are actually doing — is already done. It usually isn't. This checklist puts the steps in the order that actually prevents rework, so you don't optimize a listing twice because step three depended on something you skipped in step one.
1. Write down your product facts before you write a single word of copy
Product listing optimization starts with a plain list: material, exact dimensions, what ships in the box, who the product is for, and — the part most checklists skip — what it should never claim. A blank field here isn't a gap to fill with adjectives; it's a boundary. If you've never certified a claim, it doesn't belong in the listing, full stop. Getting this order right matters because every later step reads from this list — copy, images, even backend search terms — so an invented fact here doesn't just risk your account, it propagates into everything downstream.
2. Pull two or three references, and tag what they actually are
Look at what's already ranking above where you want to be. The optimization step here isn't copying phrasing — it's tagging each reference by how closely it relates to your product: the exact same item, a different color, different packaging, or just a similar product in the category. That tag is what makes the reference useful instead of risky. A reference of your exact product tells you something real about your own item's strengths; a merely similar product only tells you what the category tends to argue, and treating the two the same is where a lot of listings quietly go wrong.
3. Draft copy to your marketplace's exact limits, not a guess
A title and five bullets that stop well short of the character limit are leaving space a shopper would have read; copy that gets truncated mid-sentence at export is worse. Real product listing optimization means writing to the marketplace's actual limit — which changes over time and by marketplace — rather than a number someone hard-coded once. If a reference showed you what buyers in this category care about, this is where that shows up: matched where your own confirmed facts genuinely support the same point, extended only where you have a real edge.
4. Review every bullet before it locks in the next step
Confirming your copy isn't a formality — it's what unlocks image planning, and images built around the wrong headline are a bigger rework than a bullet you have to rewrite once. Read each field as if a shopper who skims will only read the first six words. If a bullet's strongest claim is buried at the end, that's a listing optimization problem copy-editing alone won't fix.
5. Plan each image with one job, then generate from your own photo
Every image in the gallery should answer one question — the main benefit, how it installs, what it's made of, a size reference, a close-up detail. Product listing optimization for images means each one earns its slot with a specific job, not a generic "lifestyle shot" that could belong to any product in the category. And the image itself should start from your actual product photograph, not a prompt — Amazon's own rules require the main image to represent the physical product accurately, so an image that misrepresents your product is a policy problem before it's ever an optimization one.
6. Check backend search terms for waste, not just presence
Backend search terms don't help if they repeat words already in your visible title and bullets — that's wasted bytes a real search term could have used instead. This is the one step that's easy to skip because no shopper ever sees it, which is exactly why it's worth a deliberate pass rather than an afterthought.
7. Export, then check the limits again
Limits can change between when you first confirmed your copy and when you're ready to publish, and copy you edited after confirming might now run long. A last validation pass before export catches that — not by auto-correcting it silently, but by telling you specifically which field is over, so you fix it once and move on.
Doing this inside Layouta
Every step above maps to something the tool does for you directly: Product Facts and References as their own structured steps, Listing Copy generated to your marketplace's live limits, Creative Briefs you confirm before any image renders, White Images built from your own photo through deterministic background removal, and a final export that validates everything one more time. Nothing generates or publishes until you say so.
Start a listing and work through the checklist in order — the tool won't let you skip the parts that actually prevent rework.
Author

Categories
More Posts
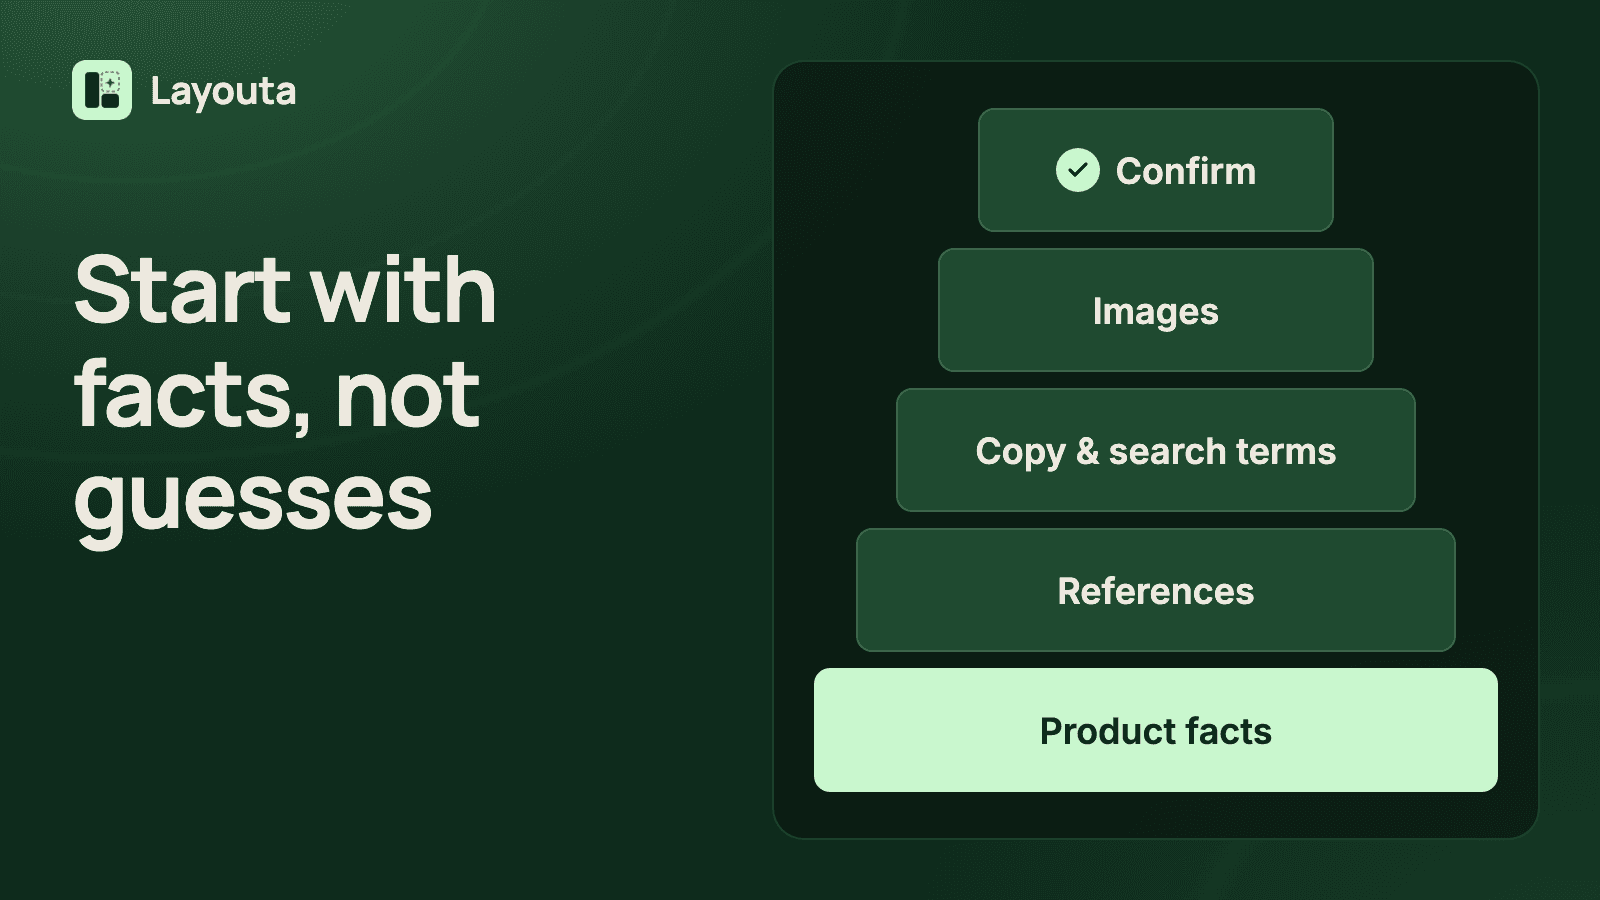
A Practical Framework for Amazon Listing Optimization That Doesn't Start With Guesswork
Real Amazon listing optimization starts with facts and competitive context, not keyword tricks. A step-by-step framework covering copy, backend terms, and images.

Amazon SEO Services vs. a Tool You Run Yourself: What Actually Moves a Listing
What Amazon SEO services actually do for a listing, what a self-serve tool can and can't replace, and how backend search terms and copy actually get you found.
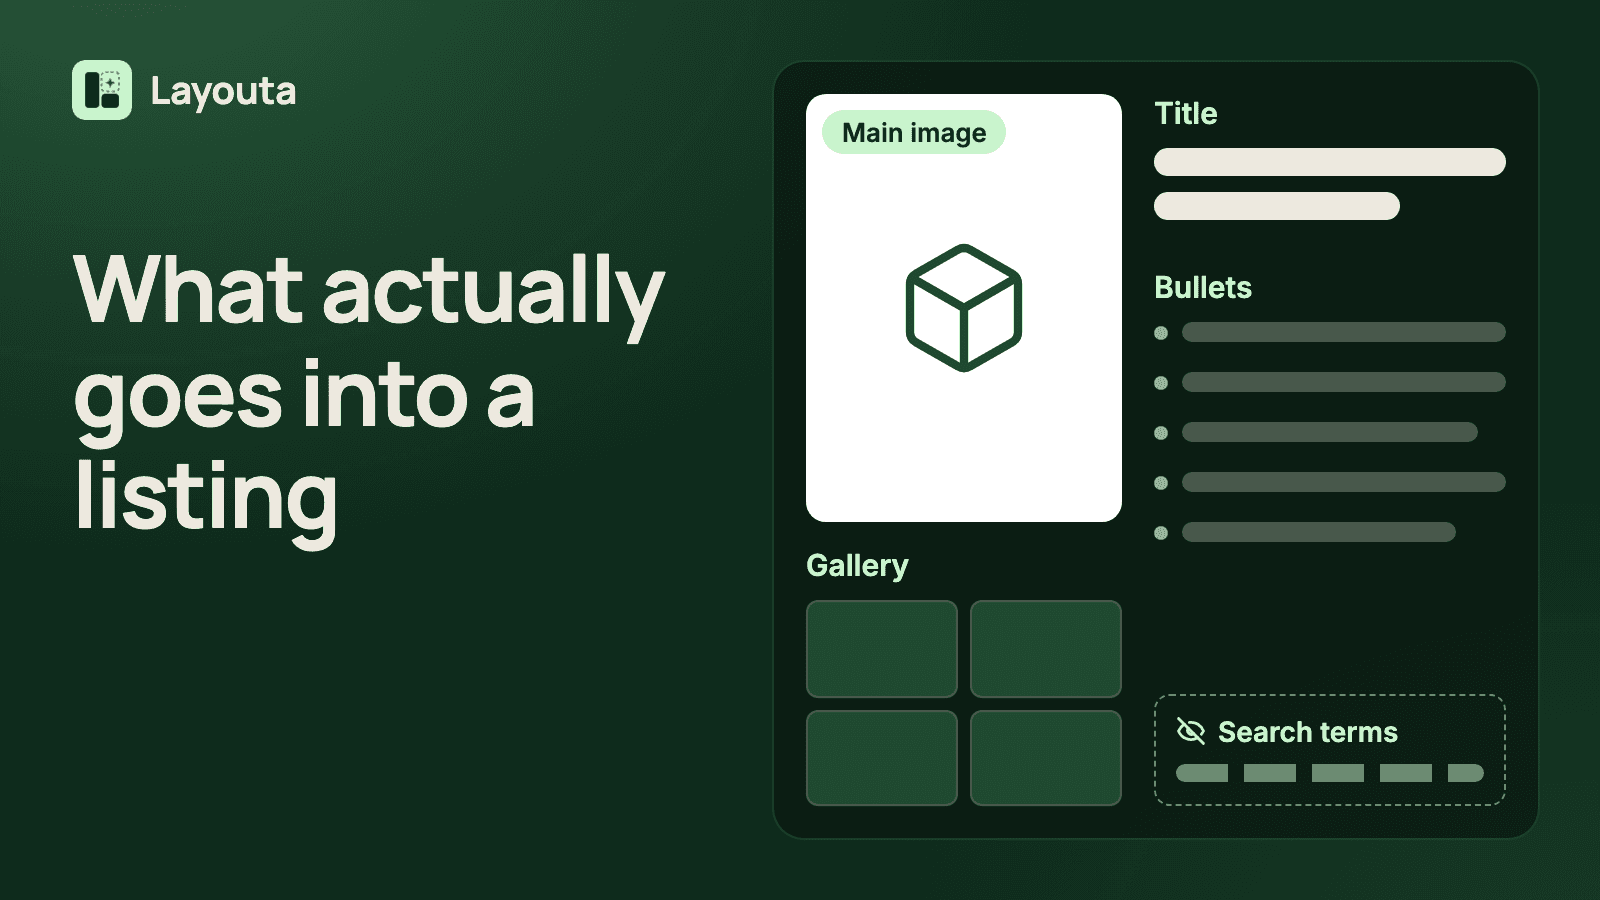
What Actually Goes Into an Amazon Product Listing (And Where Sellers Lose Points)
A structural breakdown of every part of an Amazon product listing — title, bullets, backend search terms, main image, and gallery — and the specific way each one commonly loses a sale.